How to set up Google Workspace (G Suite) in 4 steps (with screenshots)
Here’s a quick overview of the steps that you’ll need to take to configure Google Workspace with your website and professional email address:
- Register an account and go through the Google Workspace setup wizard
- Add other users to your account (optional)
- Verify domain ownership with Google by adding a TXT record to your DNS records
- Set up email by adding MX records
Ready? Here’s how to set up Google Workspace…
Step 1: Complete the Google Workspace (G Suite) account setup wizard
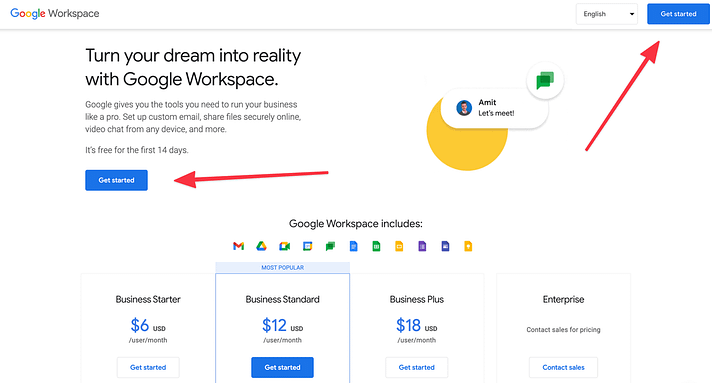
To get started, you’ll need to create your own Google Workspace account.
To do that, head here and click the big Get Started button:
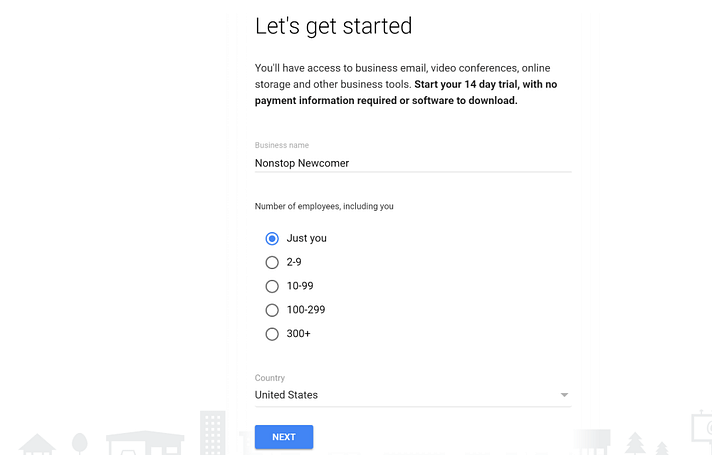
This will launch the account setup wizard, which will prompt you to provide Google with some information.
First, enter some basic information about your account. Then, click Next:
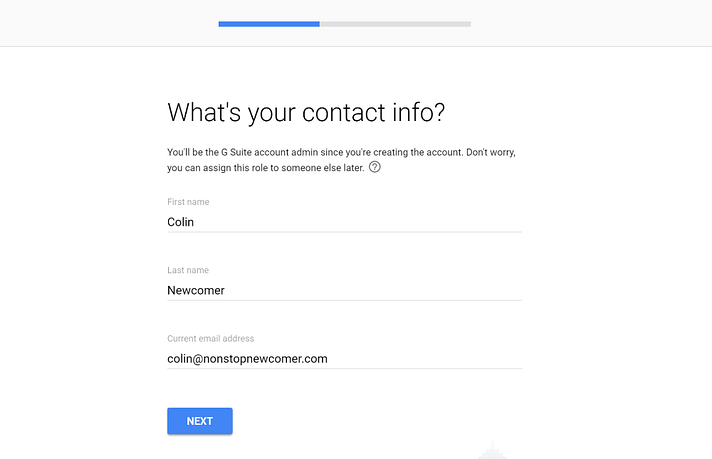
On the next screen, you’ll need to enter the information for your Google Workspace admin account.
If you’ve already set up email through your domain host, you use that email in the Current email address box. Otherwise, you can enter a personal email address:
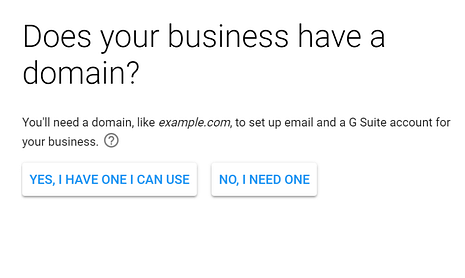
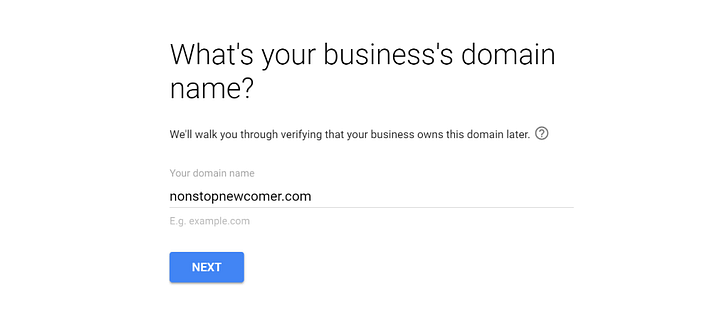
Next, indicate whether your business already has a domain name. If you already have a website that you want to use with Google Workspace, you should choose Yes, I Have One I Can Use:
Then, enter your existing domain name in the box and click Next:
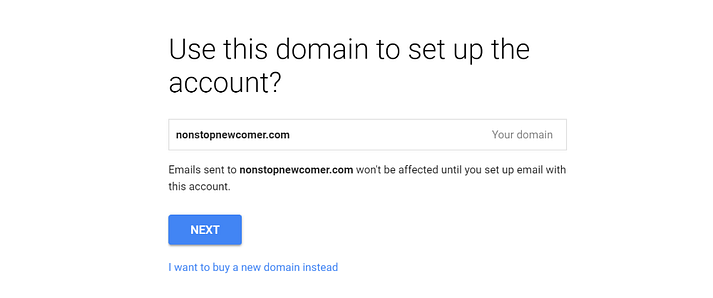
Then, click Next again to confirm that you want to use that domain name:
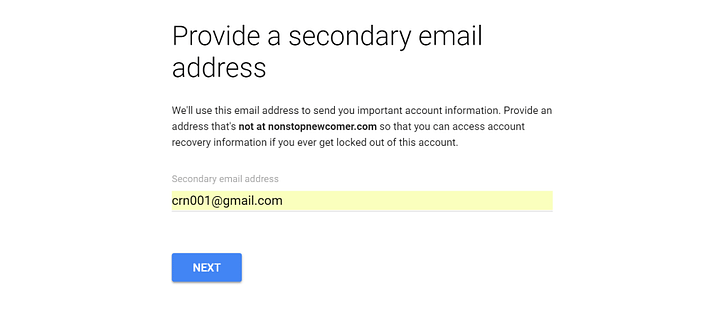
After that, you’ll need to enter a secondary recovery email address, which you’ll use in case you can’t access your primary email address. For example, you could enter your personal Gmail account here, if you have one:
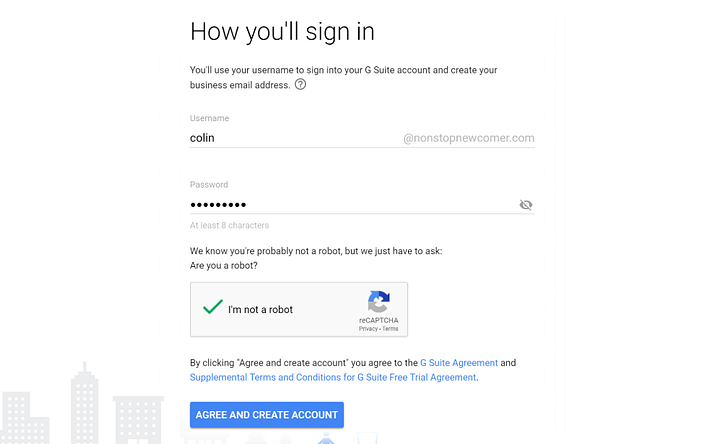
Then, you’ll need to enter a username and password that you’ll use to sign into Google Workspace. Your username will be your business email address by default (i.e., [email protected]), so you should keep that in mind when choosing which username to use.
Then, click Agree And Create Account to finish the process:
Step 2: Add other people to Google Workspace (optional)
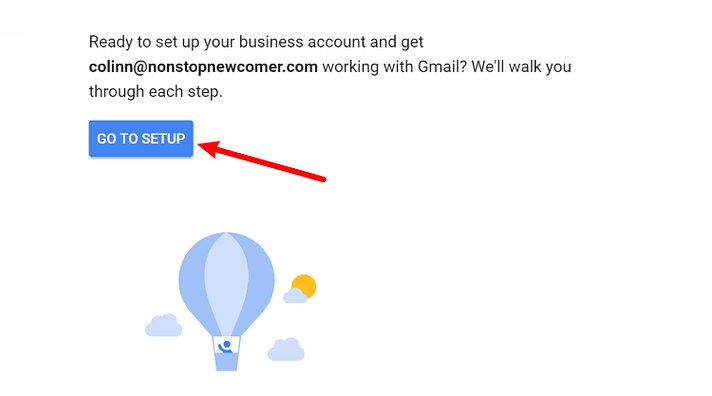
Once you finish the wizard above, you’ll see a confirmation that your account was created, as well as a button to Go To Setup. Go ahead and click that button:
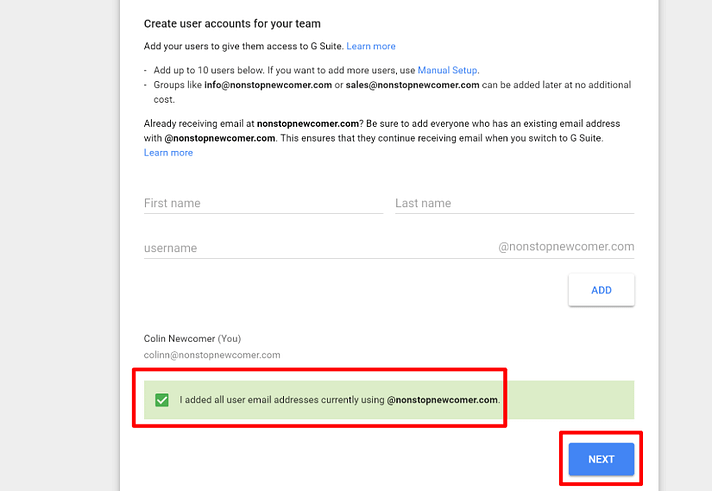
If you want to give other people access to your shared Google Workspace account, click Start next to Add people to your Google Workspace account. Then, you’ll be able to add additional users.
If you’re the only person who will use this Google Workspace account, just check the box for I added all user email… and click Next:
Step 3: Verify your domain name with Google
Now is when you start getting into the more technical aspects of how to set up Google Workspace (G Suite).
First, you’ll need to verify your domain ownership with Google by adding something called a TXT record.
To help you do this, Google will try to detect where your domain is hosted and provide instructions.
It will give you records to add to your Domain DNS, this is usually where we need to come in. You can email us the Workspace login and we can add the domain records for you. *If you are familiar with this, then you can add the records yourself.
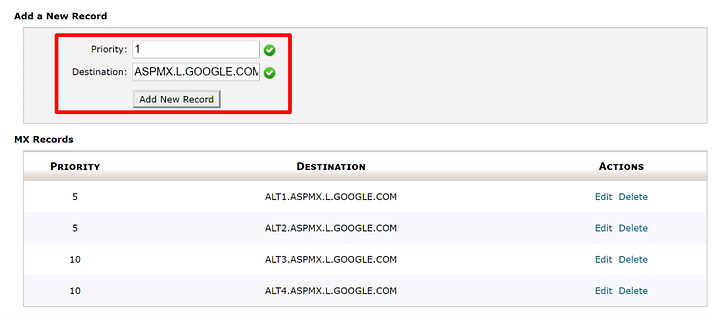
Then, you can manually delete the existing MX entries and then use the form to add the following entries:
| Priority | Destination |
|---|---|
| 1 | ASPMX.L.GOOGLE.COM |
| 5 | ALT1.ASPMX.L.GOOGLE.COM |
| 5 | ALT2.ASPMX.L.GOOGLE.COM |
| 10 | ALT3.ASPMX.L.GOOGLE.COM |
| 10 | ALT4.ASPMX.L.GOOGLE.COM |
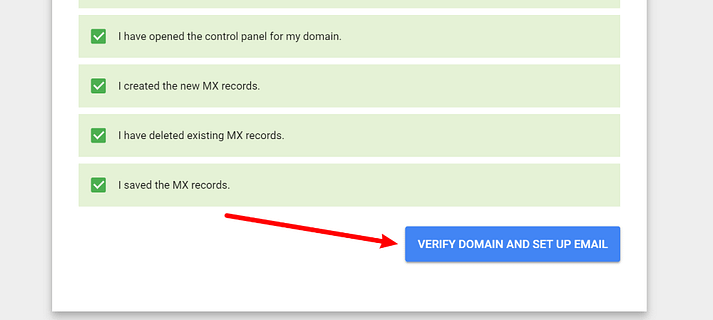
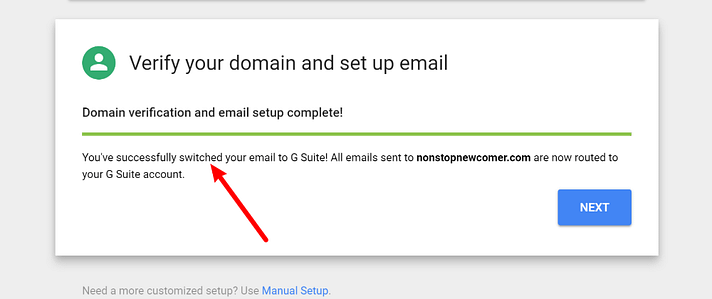
Once you’ve finished adding the entries, go back to the Google Workspace (G Suite) interface and click the Verify Domain And Set Up Email button:
And if you did everything correctly, you should get a success message:
You just set up Google Workspace (G Suite) and your email should start working soon – enjoy! Note, it might take a few hours before your email starts working, so don’t worry if you don’t receive new emails right away.